Please enter your email and website or LinkedIn to receive more information about our free and paid accounts.
Please enter your email address below and we’ll send you instructions on how to change your password.
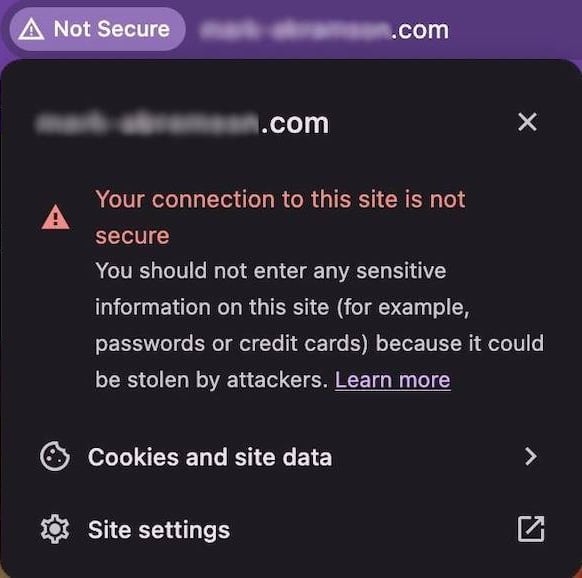
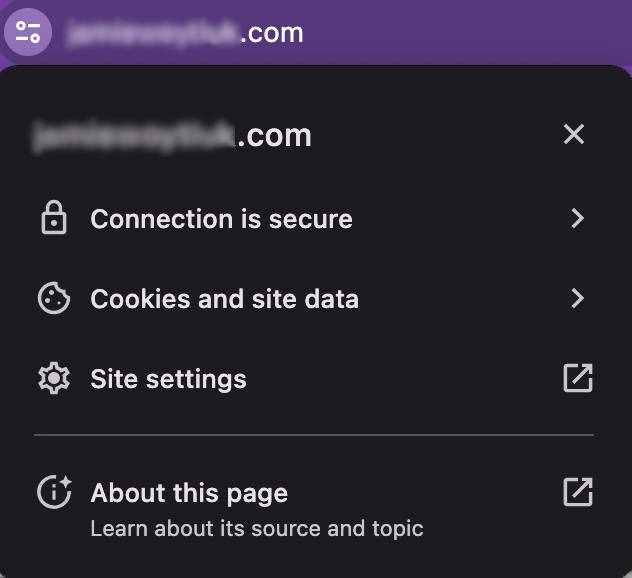
If your website is more than a couple of years old, you may notice that your URL starts with http:// instead of https://. That additional “s” indicates a secure, encrypted connection, making it much safer to share sensitive information. It’s especially important for sites where you’re entering personal or financial details. Websites with HTTPS help protect you from hackers and they protect your client’s information as well.
HTTP and HTTPS are protocols used for web browsing. They serve as the foundation for online information exchange and impact the privacy and safety of personal data.
HTTP, or HyperText Transfer Protocol, dictates how data is exchanged between a user’s browser and the website they are accessing. A user’s browser sends a request to the web server, which then responds with the content of the webpage. While HTTP has been instrumental in developing and operating the World Wide Web, it is not secure because it transfers data in plain text, making it vulnerable to being intercepted or altered by others.
HTTPS, or HyperText Transfer Protocol Secure, enhances HTTP by incorporating a layer of security through SSL/TLS protocols. These protocols encrypt the data in transit. Encryption ensures that any information exchanged between the browser and the website cannot be intercepted and read by third parties. HTTPS protects sensitive data like passwords and credit card numbers. As online security threats have escalated, HTTPS has become the expected standard for all websites — not just those handling sensitive transactions.
Here are the reasons why all websites should transition to HTTPS:
The complexity of this process can vary widely depending on your hosting provider. On one hand, some platforms offer a straightforward, one-click installation of SSL/TLS certificates at no additional cost. This can help make the switch to HTTPS simple and user-friendly. On the other hand, more advanced hosting solutions, such as those provided by Amazon Web Services, may require a more hands-on approach. This can involve multiple steps and a deeper understanding of web server configurations and security protocols. Here’s a basic step-by-step guide to help navigate the process:
Before you start making changes, it’s always wise to backup your website. This includes your database and all website files. In case something goes wrong during the transition, you can restore the previous version.
For Simple Hosting Providers: Look for SSL options in your hosting control panel. Providers often partner with services (like Let’s Encrypt) to offer free and renewable SSL certificates.
For Advanced Hosting Solutions: Purchase an SSL certificate from a reputable certificate authority. You can also use a service (like AWS Certificate Manager) to create and manage your certificates.
One-Click Installations: Utilize your hosting control panel’s one-click feature to install the certificate on your server automatically.
Manual Installations: Log into your server, upload the SSL certificate files to a secure location, link them to your site through your platform’s settings, and update to the latest security protocols.
Update your website’s configuration to ensure that it serves pages over HTTPS by default. This usually involves changing settings within your content management system (CMS) like WordPress.
Check for and update any internal links, images, scripts, and stylesheets to use HTTPS rather than HTTP to prevent mixed content warnings. You can often do this with a plugin or module within your CMS.
Set up 301 redirects in your configuration file for your server software to redirect all HTTP traffic to HTTPS. This ensures that users and search engines can reach the secure version of your site.
Update your URLs to HTTPS in any external services you use, such as Google Analytics, Google Search Console, and any other third-party tools or services that reference your website.
After making these changes, thoroughly test your website to ensure that HTTPS is working correctly. Check for broken links, display issues, and ensure that the SSL certificate interfaces with browsers without any errors.
Website owners often face the following decision: should they use a free SSL certificate or invest in a paid version? For websites that handle user inputs, such as purchases, a paid SSL certificate is advisable to ensure the protection of user data. On the other hand, for sites serving primarily as portfolios or landing pages without transactional capabilities, a free SSL certificate is enough.
If you’re considering a paid SSL certificate, it’s often most convenient to start with your domain registrar, such as GoDaddy or Namecheap, as many offer SSL certificates directly. Should your domain registrar not provide SSL certificates, exploring dedicated digital certificate authorities, such as DigiCert or GlobalSign, is a viable alternative.
HTTPS is a security protocol that encrypts data between a user’s browser and a website. Transitioning to HTTPS can range from a straightforward, automated process provided by some hosting platforms to a more involved manual setup in complex hosting environments.
While free SSL certificates, like those offered by Let’s Encrypt, are suitable for many, websites handling transactions or exchanging sensitive information may benefit from the additional features and assurances provided by paid SSL certificates.
Further Reading
Expert Advice: Google Analytics Setup
Expert Advice: Search Engine Optimization (SEO) for Photographers
Expert Advice: Web Design Basics for Photographers
Need help making your website more secure? See our Consulting Services page or just give us a shout!